Here in Southern Ontario, the Greater Toronto Area to be exact, we experienced what is akin to a heat wave in winter this past weekend. Temperatures in the (low) double digits (Celsius that is) warmed our bodies and our souls and an abundance of sunshine made everything seemed brighter. Sigh, we collectively needed this! Or at least I needed this. Days like this weekend remind me that everything is going to be okay. Life will be okay. More than okay! Spring is around the corner, we just have to hang in there for a few more weeks.
You know what else warms the body and soul? Spicy, flavourful, easy dishes made with nourishing ingredients. You might have noticed that I love spice. A lot of spice. Like, all the spice in the world. And by spice I mean spices AND heat. In my world, the hotter the better. It’s like an addiction and I often crave spicy foods. My sister gets me. She’s just the same.
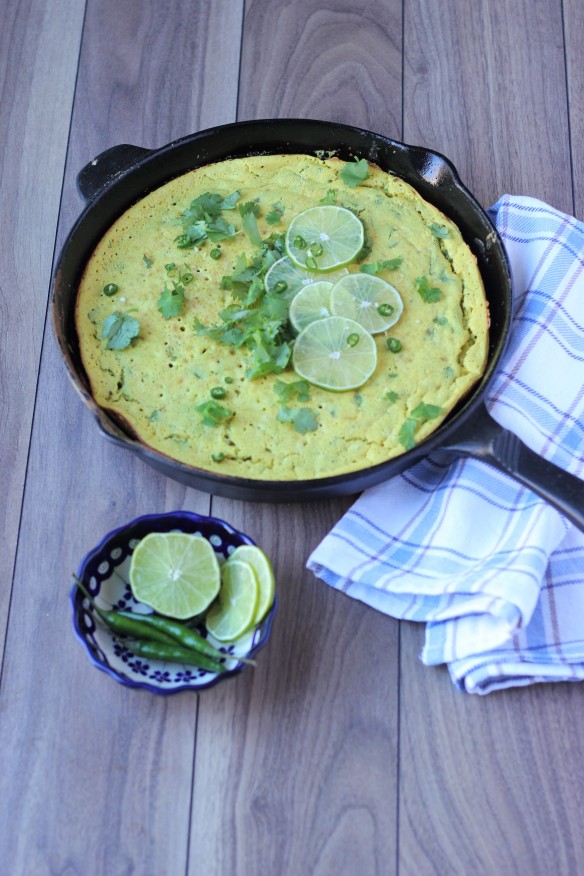
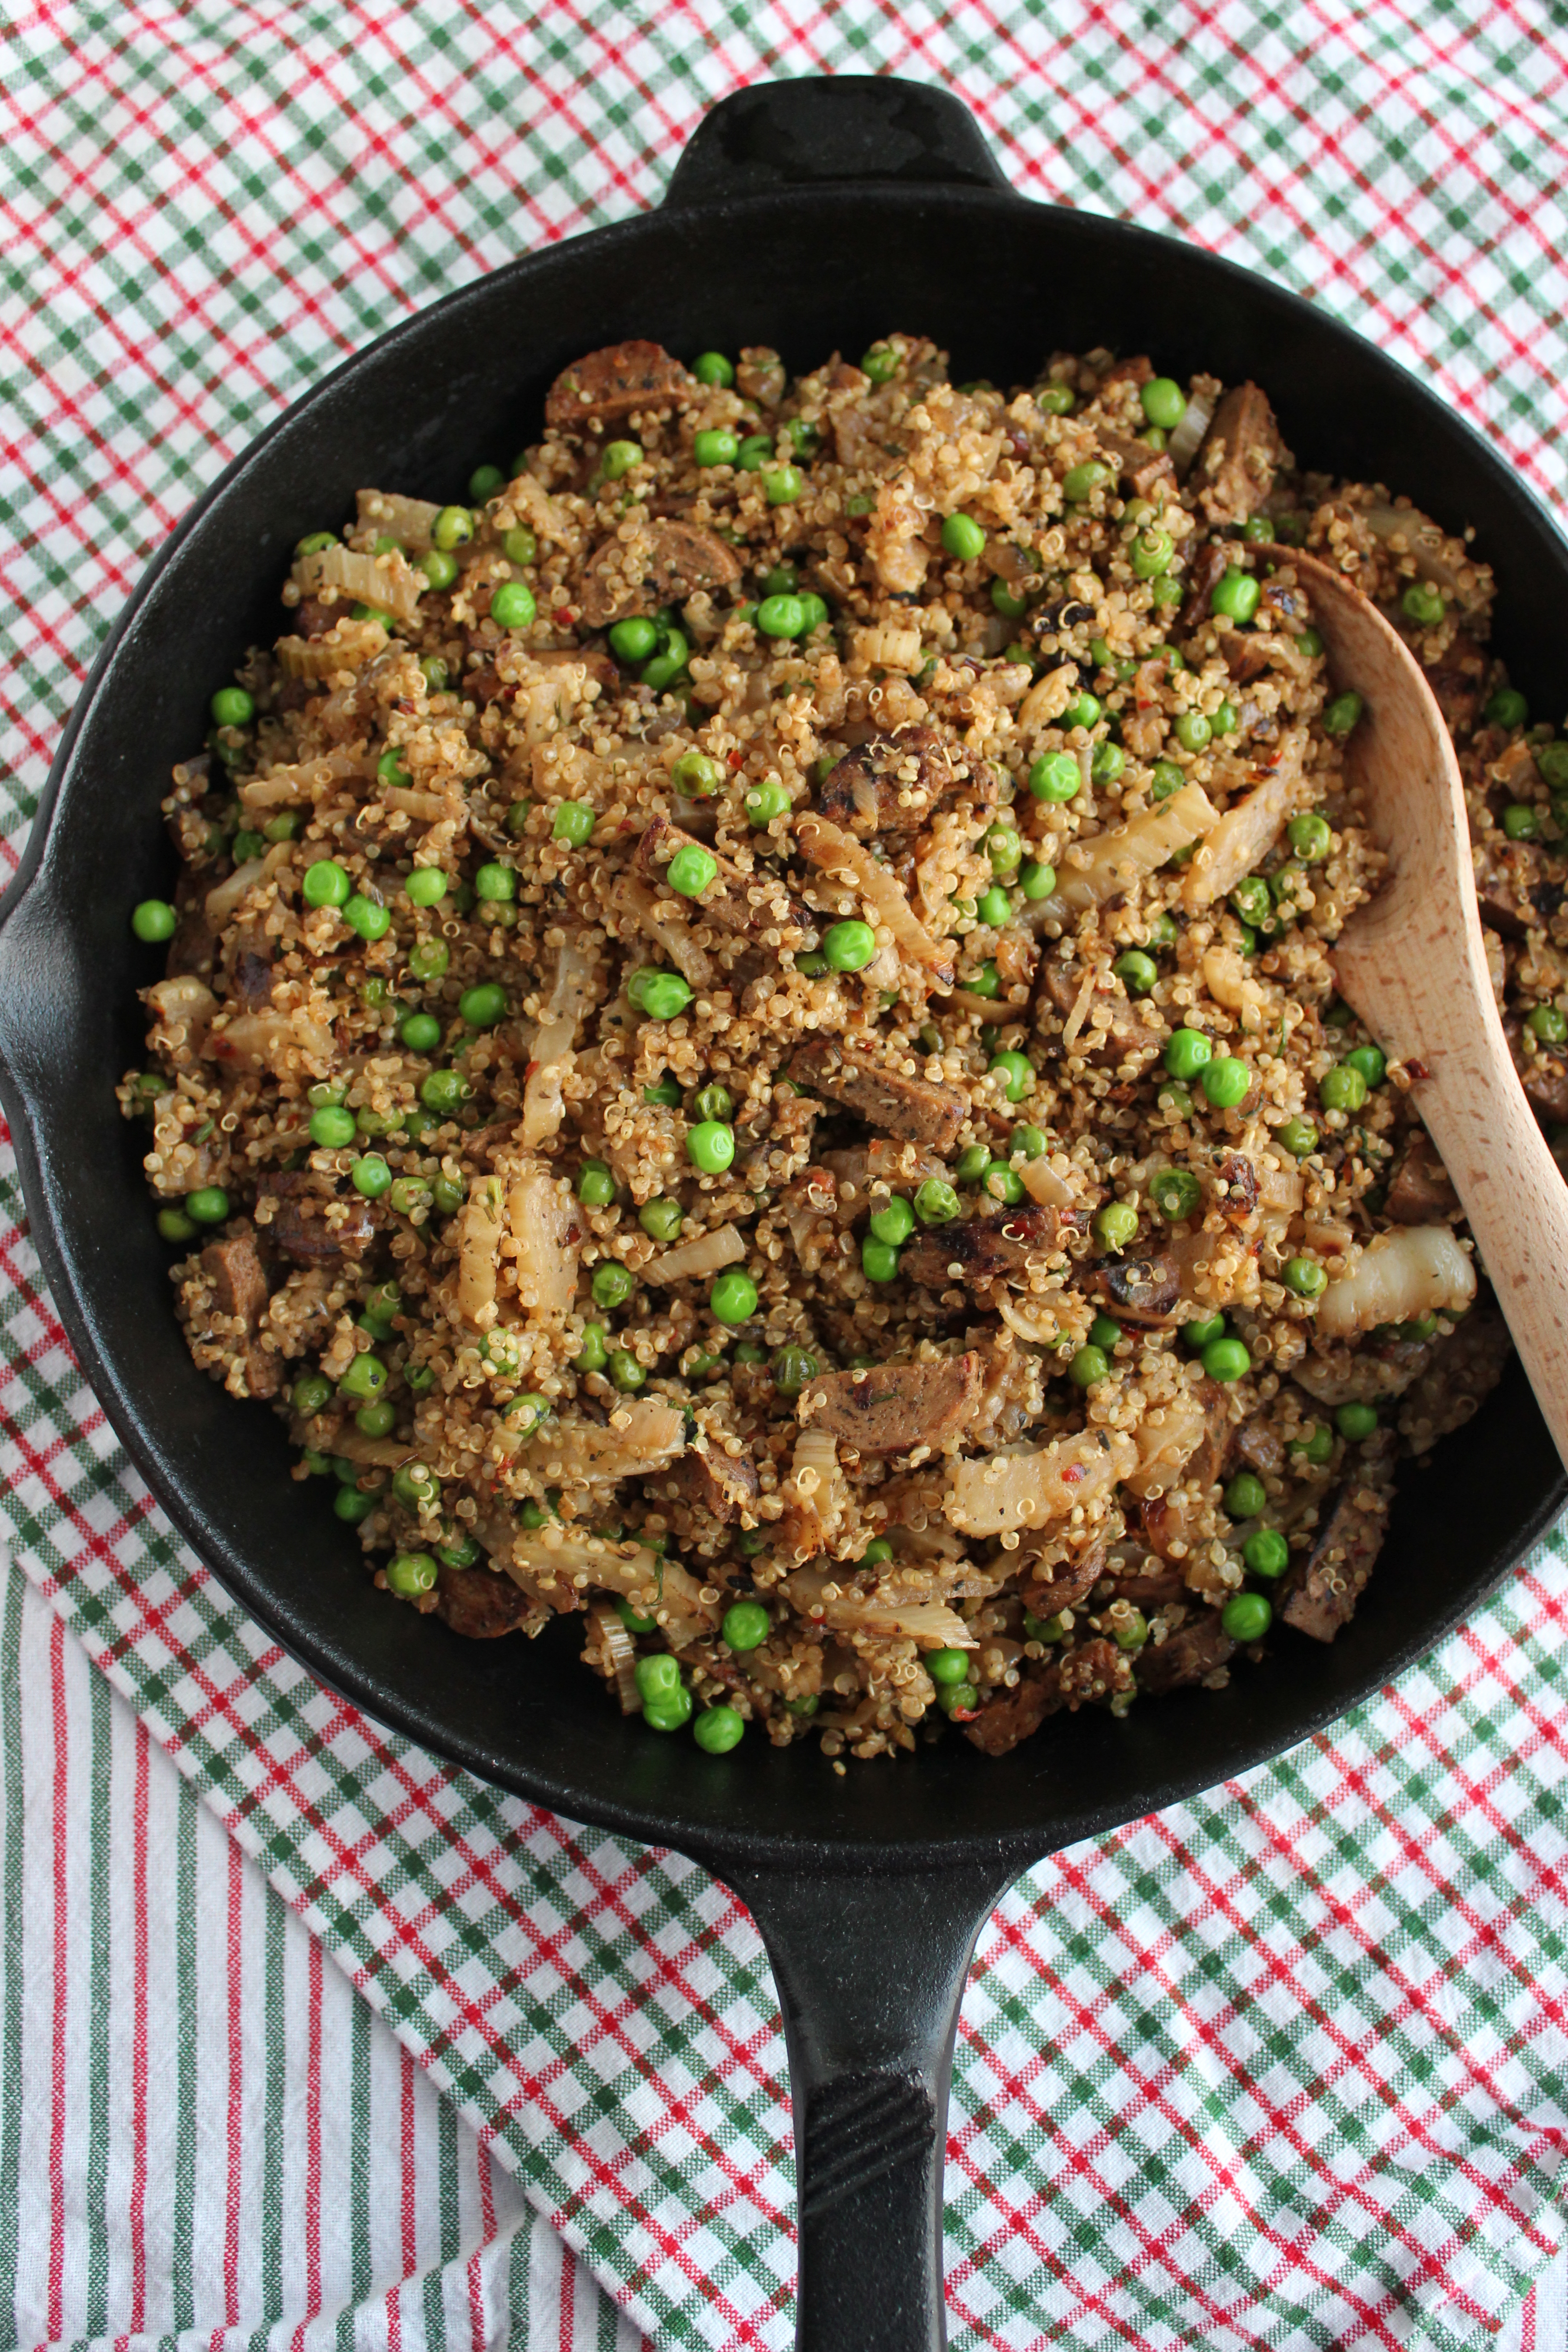
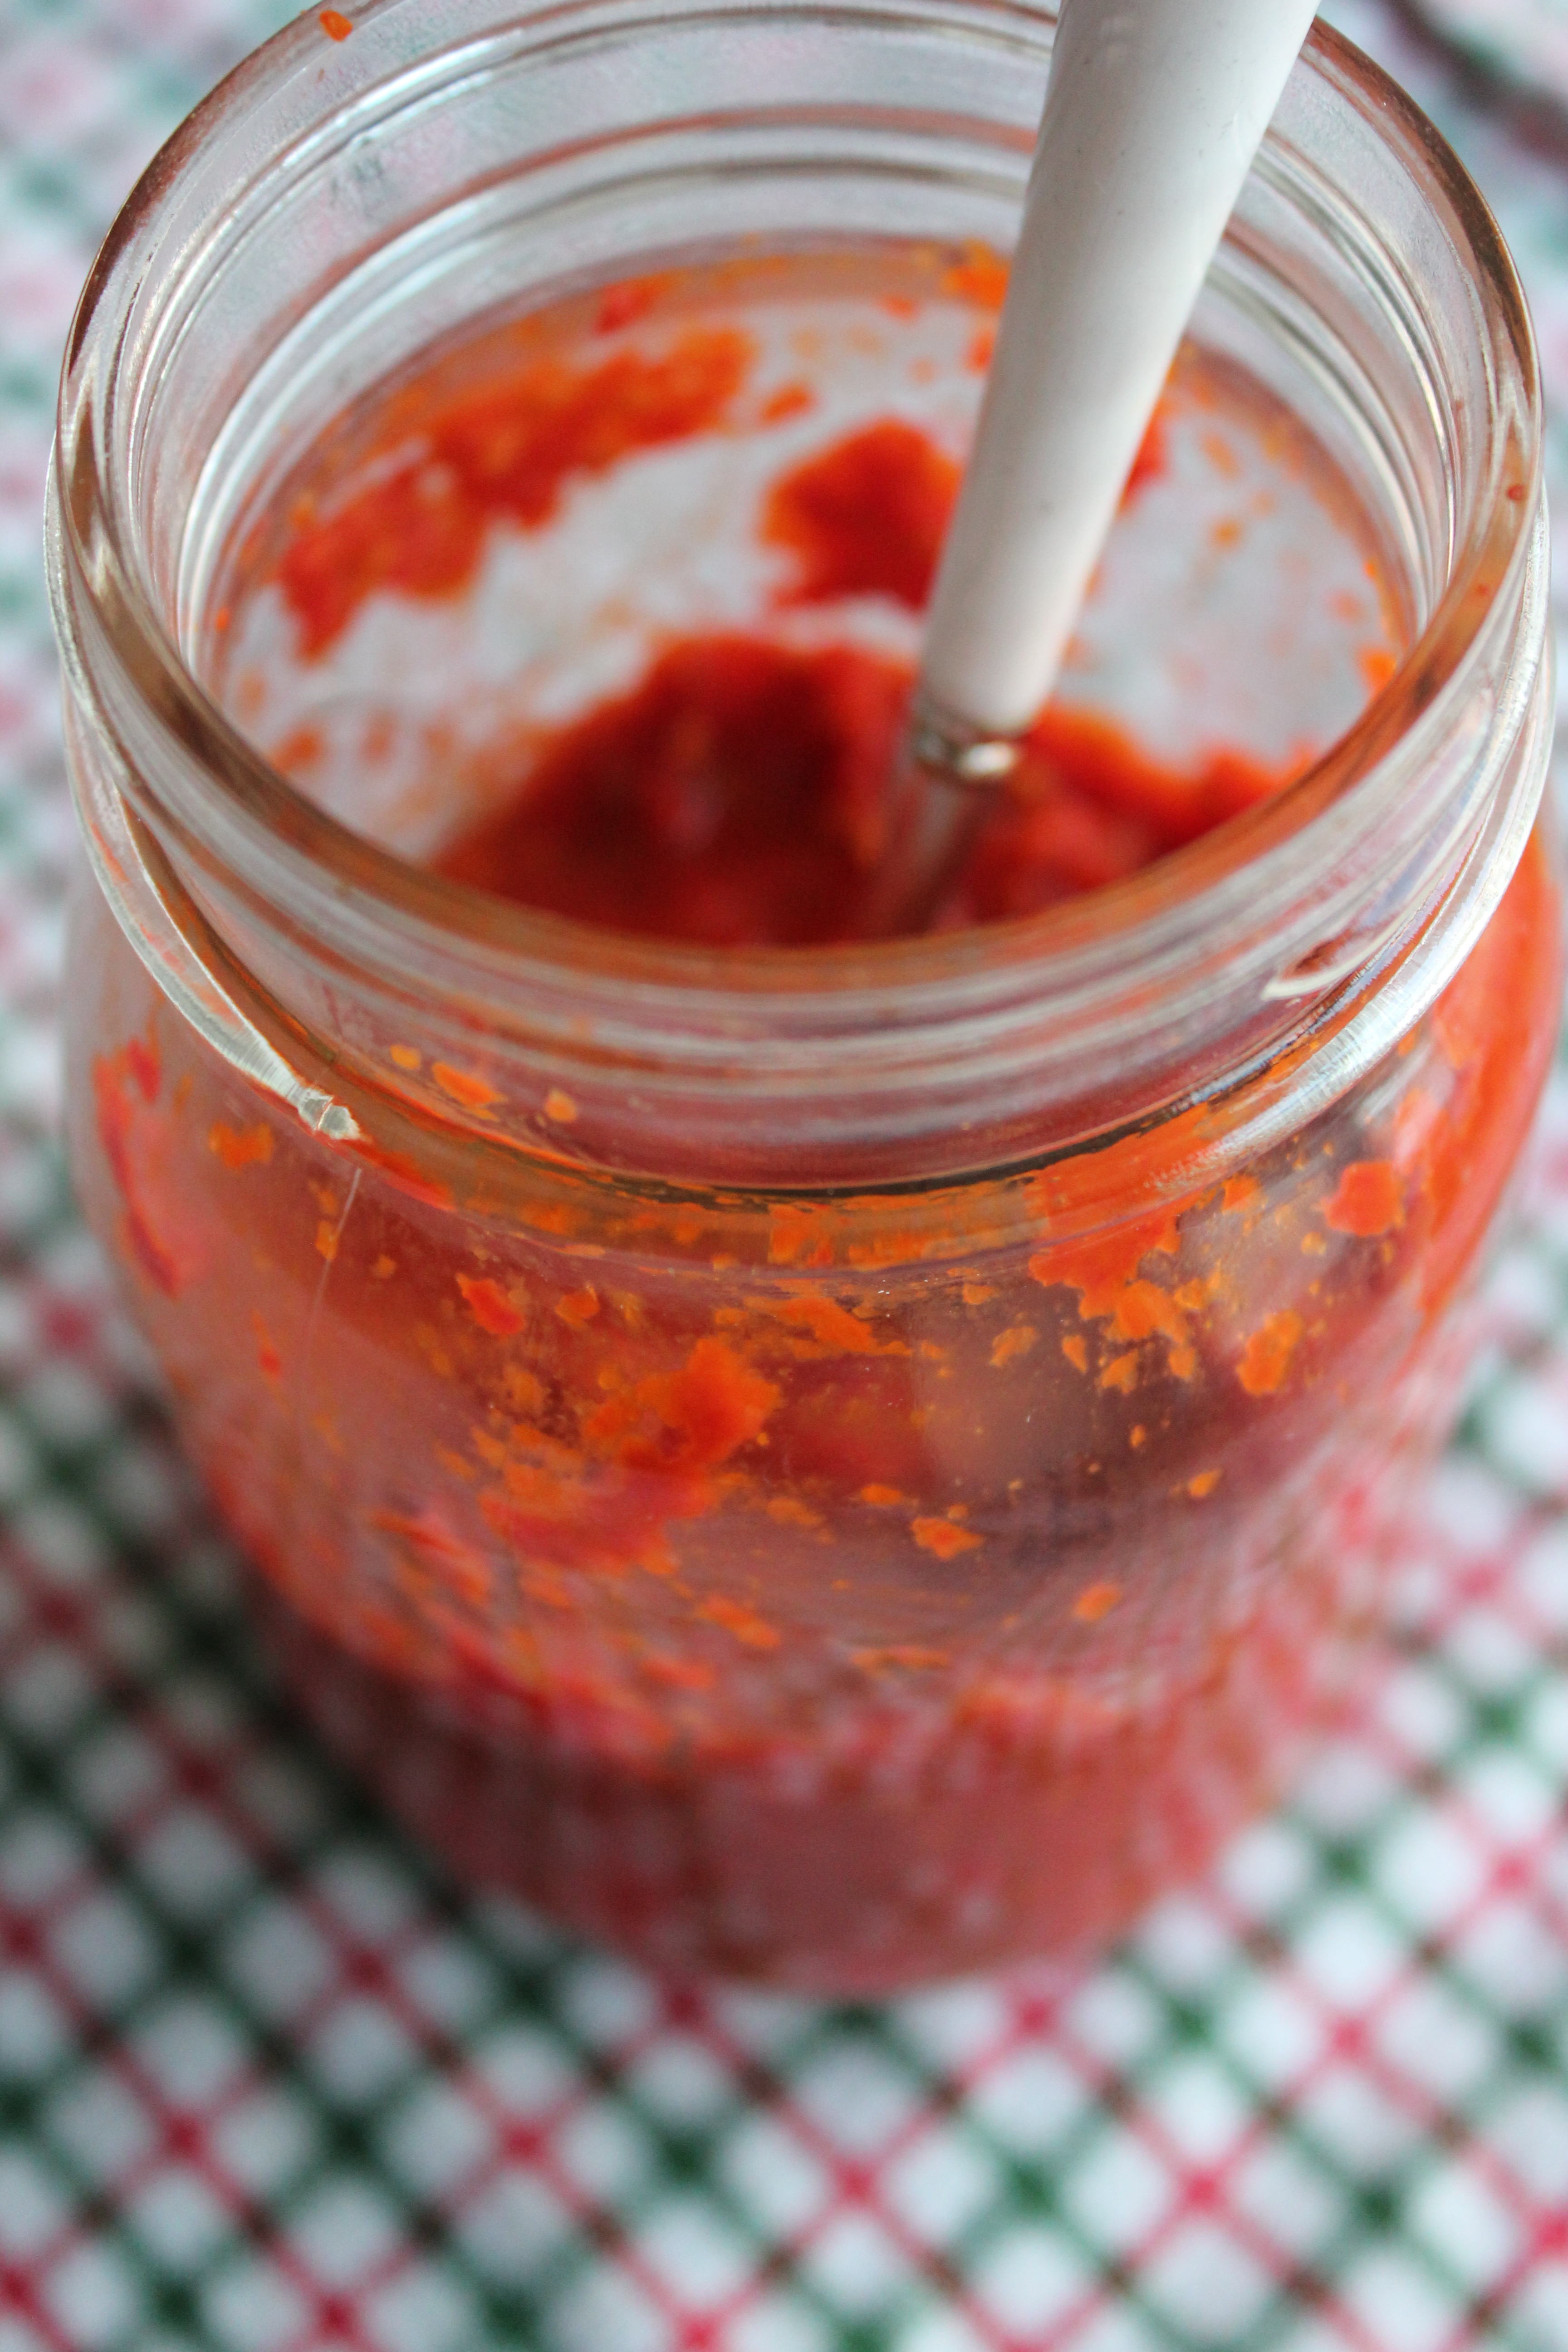
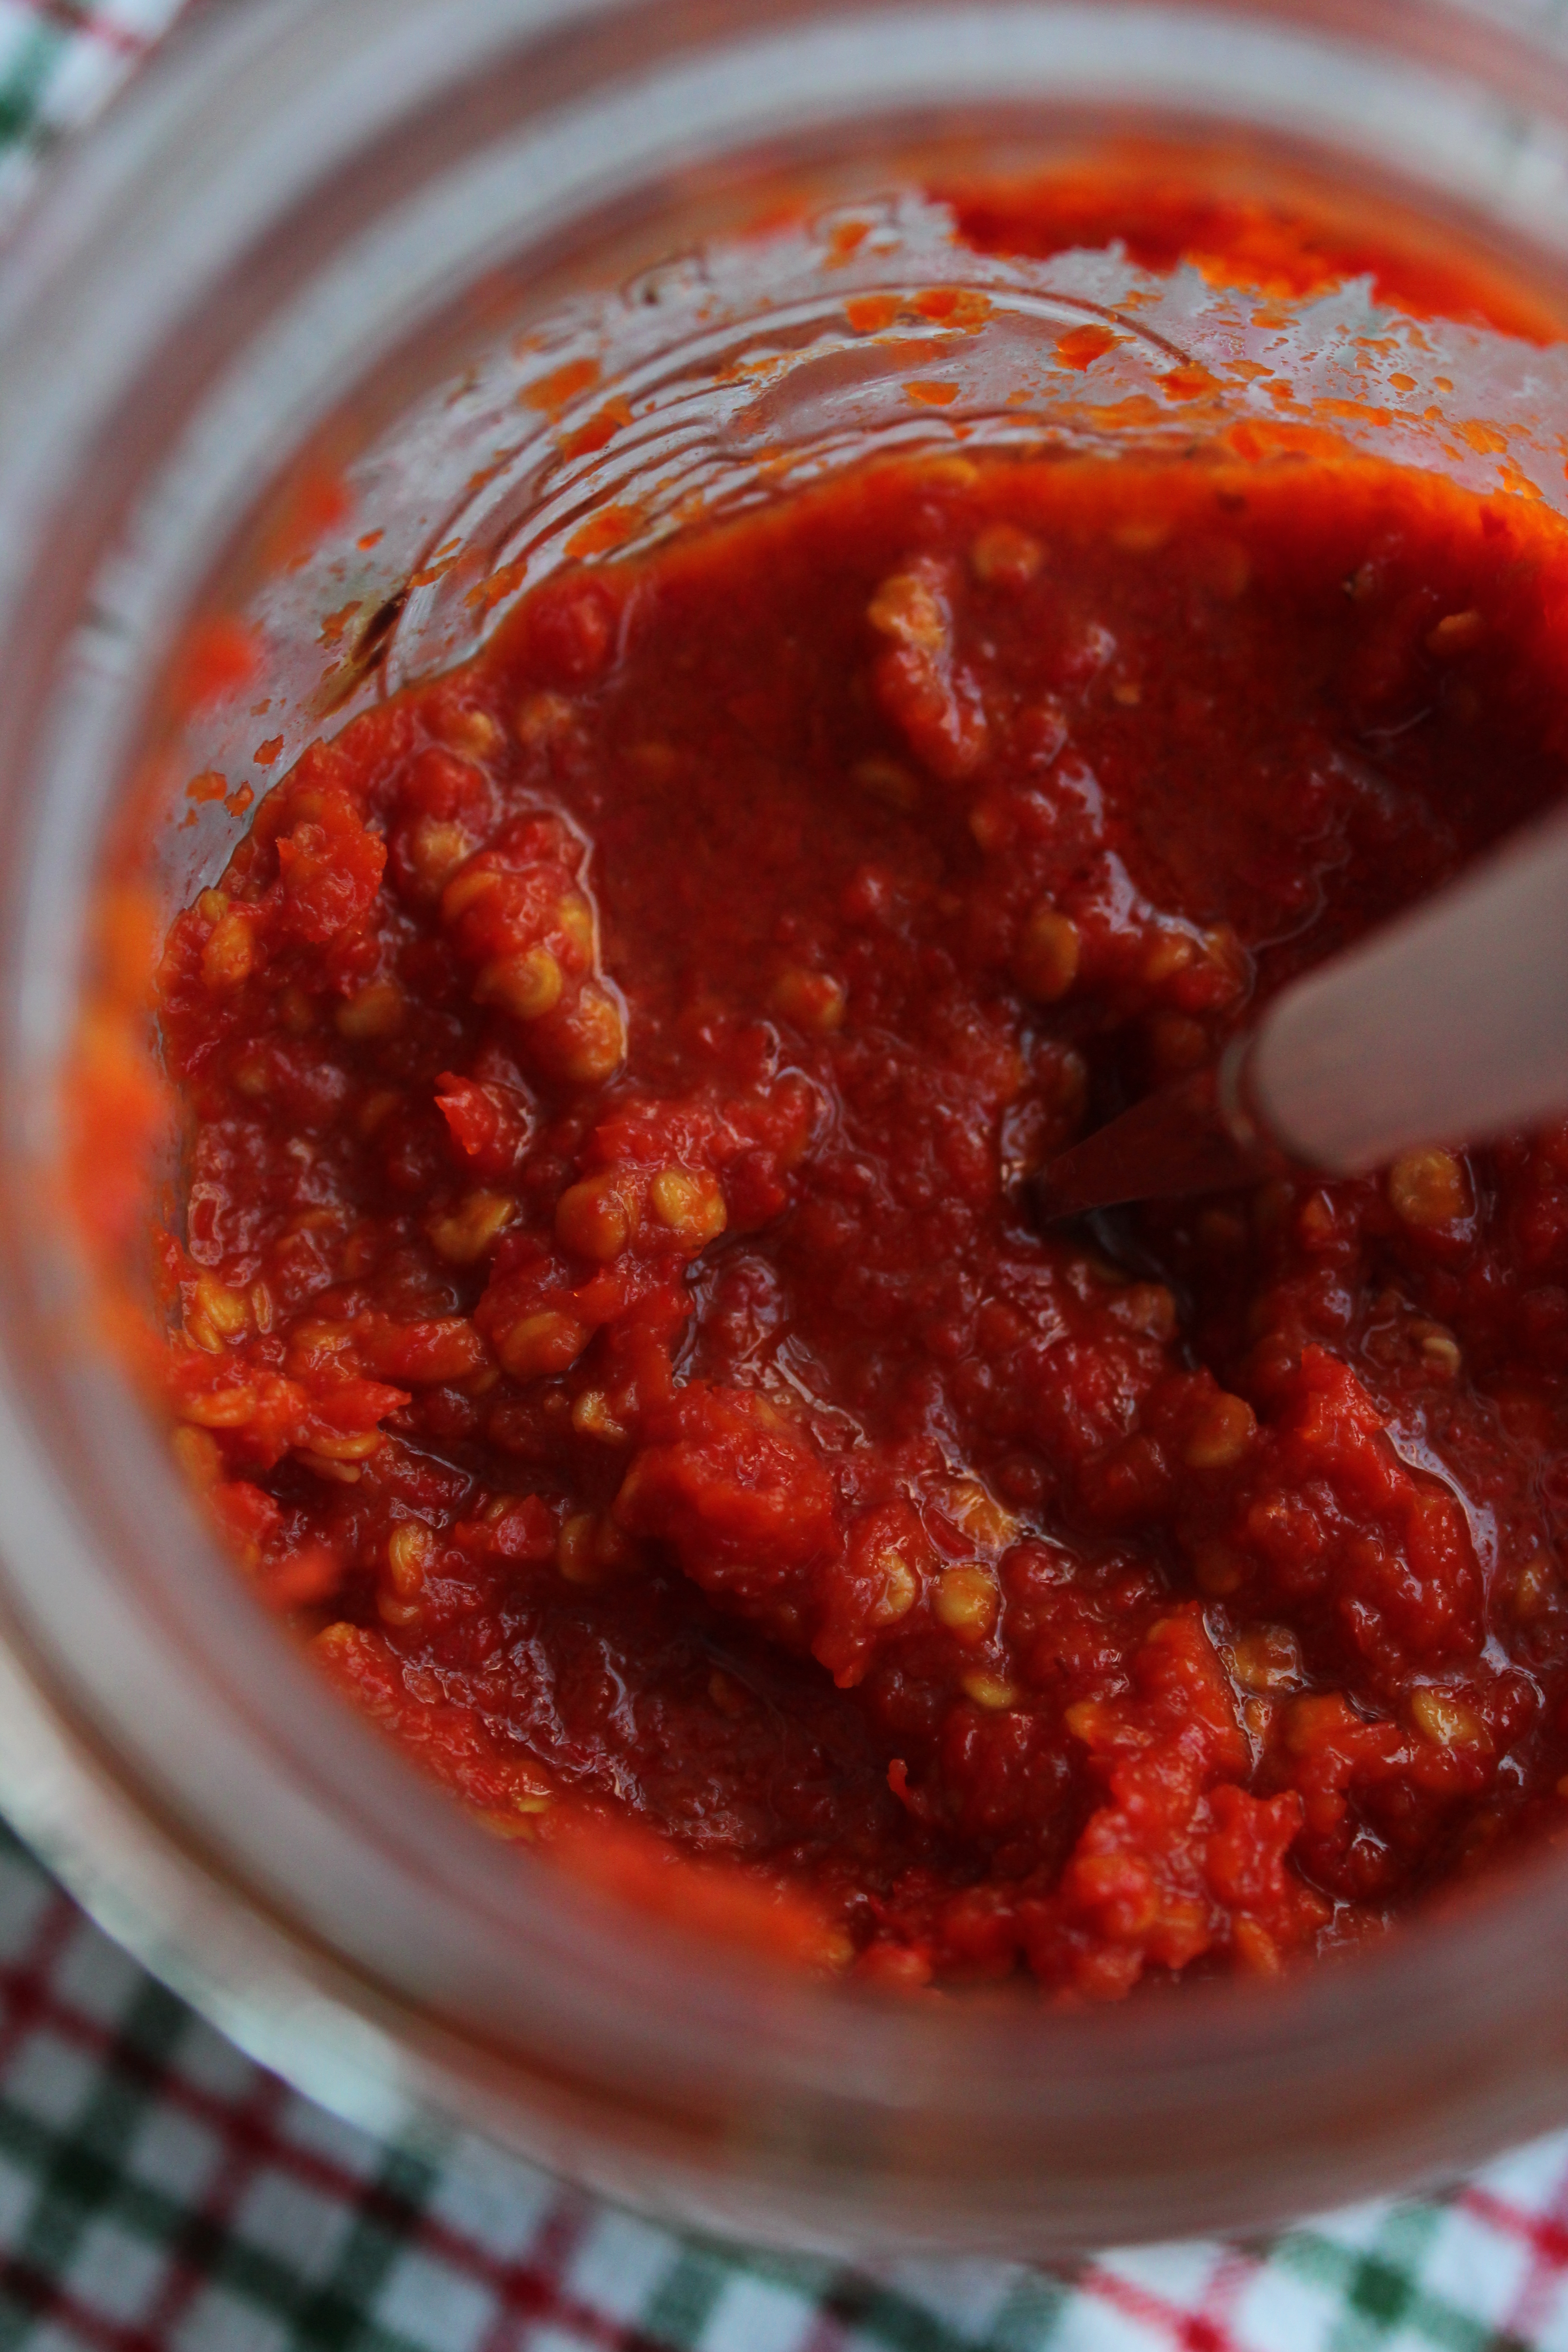
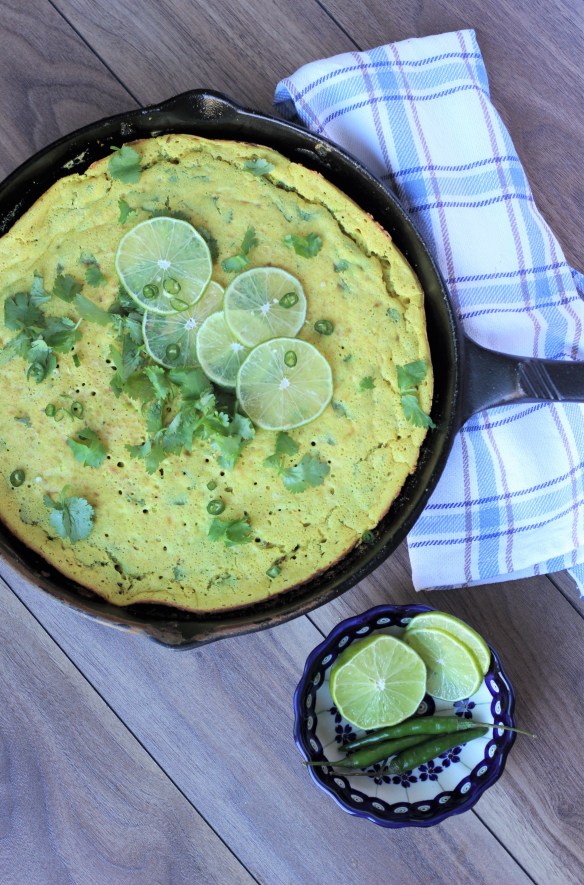
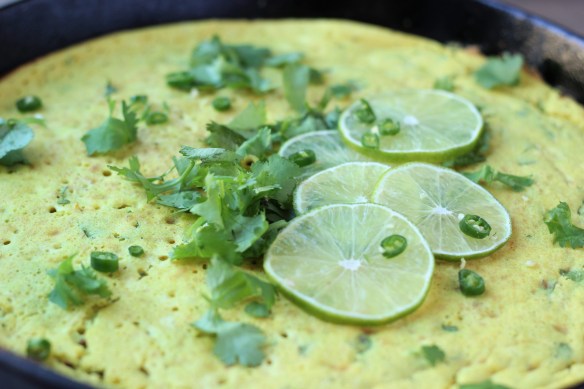
In this spiced chickpea skillet cake the spice comes from some wonderfully robust Indian inspired spices like cumin seeds and fresh ginger, as well as from green chilies which you can dial up or down based on your preferences. You can guess which direction I went! This skillet cake is modelled after an Indian dish called dhokla, if only in flavours and ingredients, not actual execution. Traditional dhokla requires a pressure cooker to make and yields a spongy, super light savoury cake. Like a cloud in your mouth! I rely on baking powder to help achieve a bit of this airiness, though my recipe creates something much more dense and filling. In any case, it’s taste is reminiscent of dhokla and that is all I can wish for. To make it a bit more traditional you could drizzle the finished skillet cake in black mustard seeds and chopped green chilies fried in oil. Alas, no mustard seeds in my cupboard and the stores were closed due to a holiday. I decided to go for it anyway!
I love using chickpea flour as it is super cheap (I buy it at a bulk store) and packed with fibre, protein and a host of micronutrients. One 1/2 cup serving of chickpea flour (also known as garbanzo flour or besan) provides you with 10 grams of protein and 5 grams of fibre, as well as about half of your daily folate and a quarter of your daily iron requirements. Please ask me where I get my protein from the next time you see me. It’s also naturally gluten-free (though if you have Celiac disease please buy it in sealed packages!)
Please excuse the seemingly long instructions but I get chatty. And also I needed to explain how I MacGyvered my skillet to have a snug lid to fit over top of it. Yup, using skills in the kitchen!
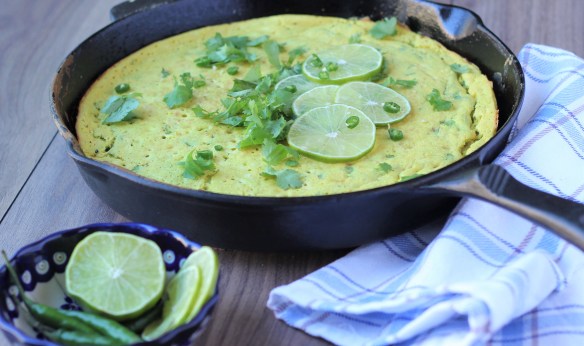
Indian Spiced Chickpea Skillet Cake
Serves 4-6
Prep Time 15 minutes
Cook Time 10-13 minutes
Ingredients:
2 cups chickpea flour
1 Tablespoon baking powder
1/2 teaspoon ground turmeric
3/4 teaspoon sea salt
Freshly ground black pepper
2 cups water
2 Tablespoons fresh lime juice (from 1 small lime)
1/4 cup roughly chopped fresh cilantro, packed
1 Tablespoon neutral-tasting oil (avocado, canola, grapeseed, refined coconut)
1 Tablespoon cumin seeds
1 teaspoon coriander seeds (optional)
1 Tablespoon finely minced fresh ginger
1-2 chopped green chilies, leave seeds in
Garnish: chopped fresh cilantro, sliced green chilies, lime
Directions:
1. In a medium mixing bowl, whisk chickpea flour, baking powder, salt and pepper to combine. Add water and lime juice and whisk well, ensuring batter is smooth and lump free. Set aside.
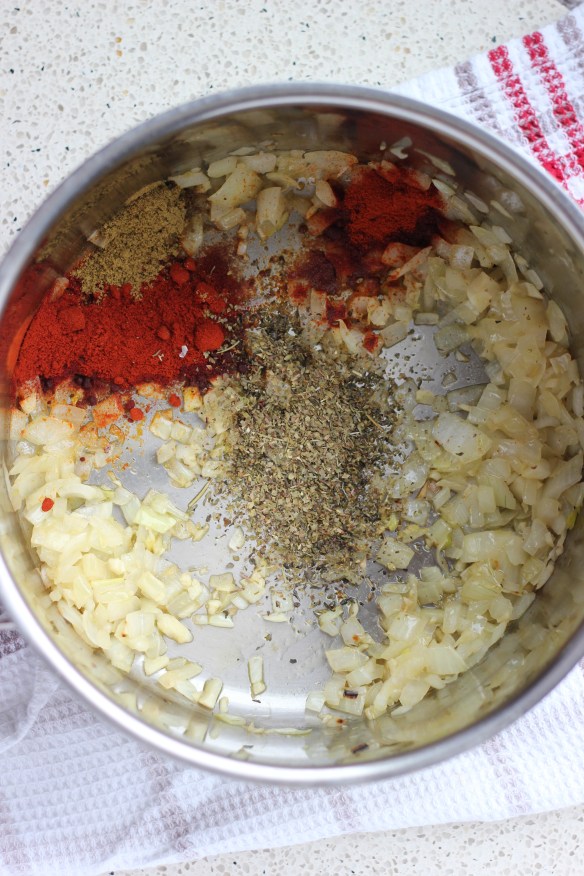
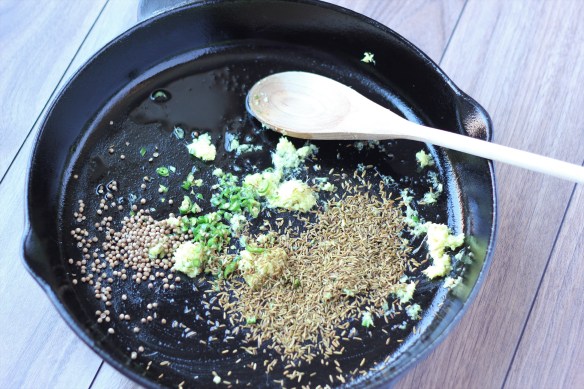
2. Choose an oven-proof, non-stick frying pan or well seasoned cast iron skillet, for which you have a tight fitting lid (I used a lid from a large stock pot and used a couple of pieces of tin foil to plug the gaps along the rim of the skillet). Heat oil over medium-high, then add cumin seeds, coriander seeds, ginger and chilies. Fry, stirring often, until fragrant and seeds begin to pop, about 1-2 minutes.
3. Add fried spices, ginger and chilies to chickpea batter and whisk in. Don’t worry if you don’t get every seed and bit from skillet. Place skillet back on the stove and turn heat down to low. Carefully pour chickpea batter into the skillet and cover with the lid (no peeking – the key is to allow steam to build up and help in cooking the cake.) Cook over low heat for 6-8 minutes, until bubbles appear on surface and mixture starts to set (you will notice the top of the cake will start to dry out and become less jiggly.) Be careful not to burn the skillet cake! Low heat is key here. While cake is cooking on the stove top, set oven on to broil.
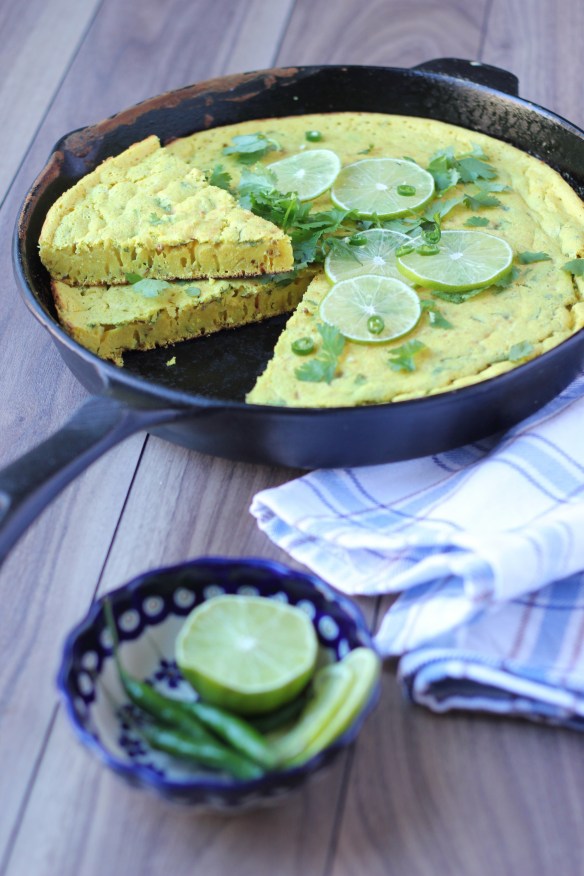
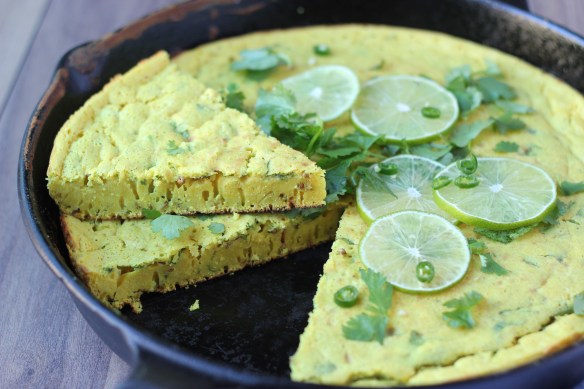
4. Once batter is mostly set, remove from heat, remove lid and place skillet on middle rack and broil for 2-3 minutes. Watch carefully to ensure skillet cake does not burn! This is not the time to walk away and start a new task. Carefully remove skillet from the oven (it’s hot!) and allow to cool. Once cool enough to handle, you can flip the skillet cake out of the pan onto a serving plate, or serve straight form the skillet. Top with desired garnishes. It tastes best when warm, so eat right away! Or store leftovers in the fridge and reheat before eating.
And now for a PSA: Let me know if you make this recipe! Share with your friends! Like and comment below!
xo
Enjoy life and good food and sunshine,
ilona
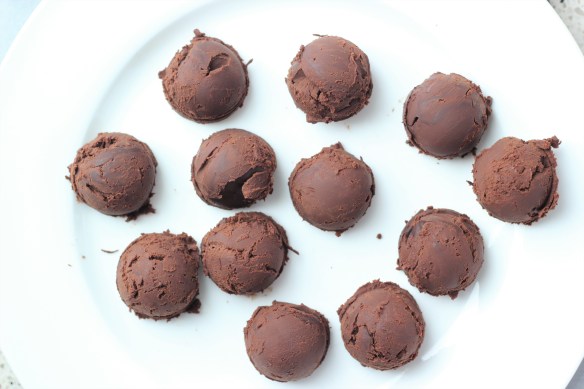
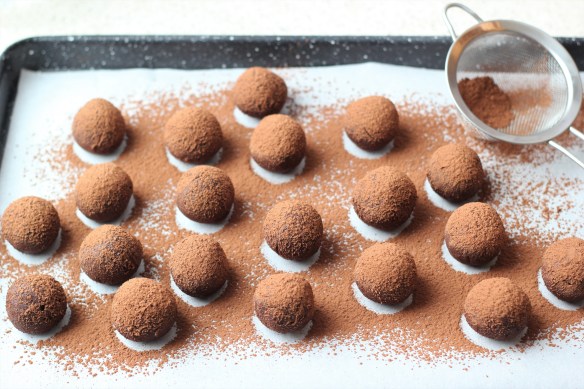
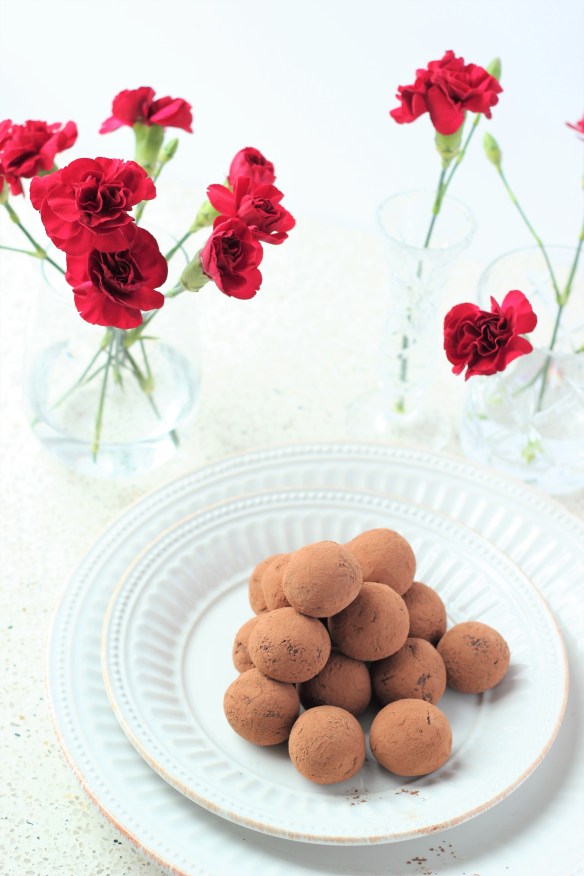 Keeping it short and sweet today. Just like this recipe. A sweet, simple treat for Valentine’s Day. Or any day. Maybe every day? These decadent truffles taste like they came from a fancy chocolate shop but in fact require only four main ingredients and a bit of chilling time to make. Insanely rich, smooth and satisfyingly chocolaty, they will surely impress your sweetheart or whoever the lucky recipient may be.


 I’m on a mission. A mission to get people