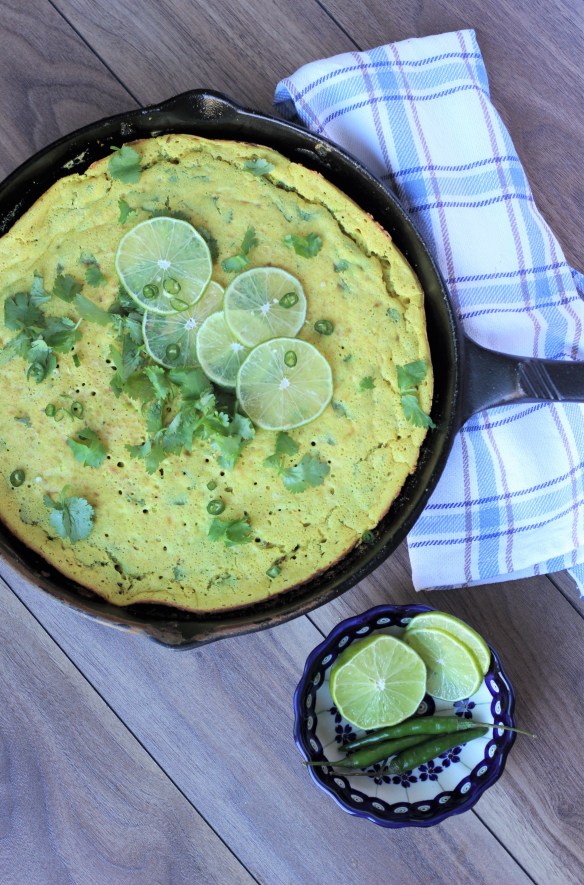
Indian Spiced Chickpea Skillet Cake

img_3714-4

Here in Southern Ontario, the Greater Toronto Area to be exact, we experienced what is akin to a heat wave in winter this past weekend. Temperatures in the (low) double digits (Celsius that is) warmed our bodies and our souls and an abundance of sunshine made everything seemed brighter. Sigh, we collectively needed this! Or at least I needed this. Days like this weekend remind me that everything is going to be okay. Life will be okay. More than okay! Spring is around the corner, we just have to hang in there for a few more weeks.

You know what else warms the body and soul? Spicy, flavourful, easy dishes made with nourishing ingredients. You might have noticed that I love spice. A lot of spice. Like, all the spice in the world. And by spice I mean spices AND heat. In my world, the hotter the better. It’s like an addiction and I often crave spicy foods. My sister gets me. She’s just the same.
img_3718-3

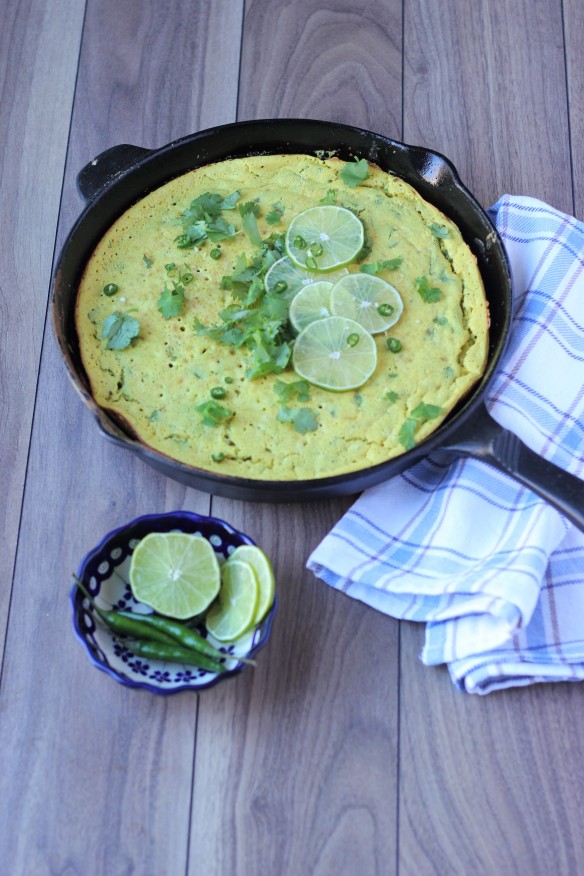
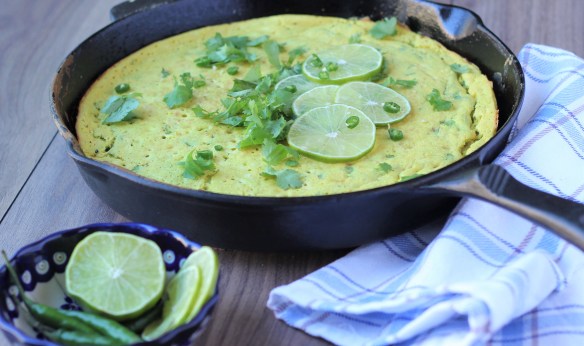
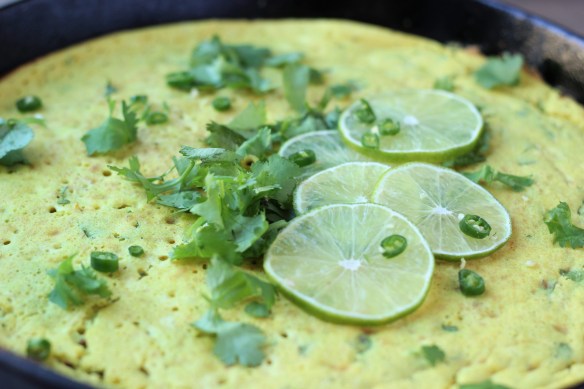
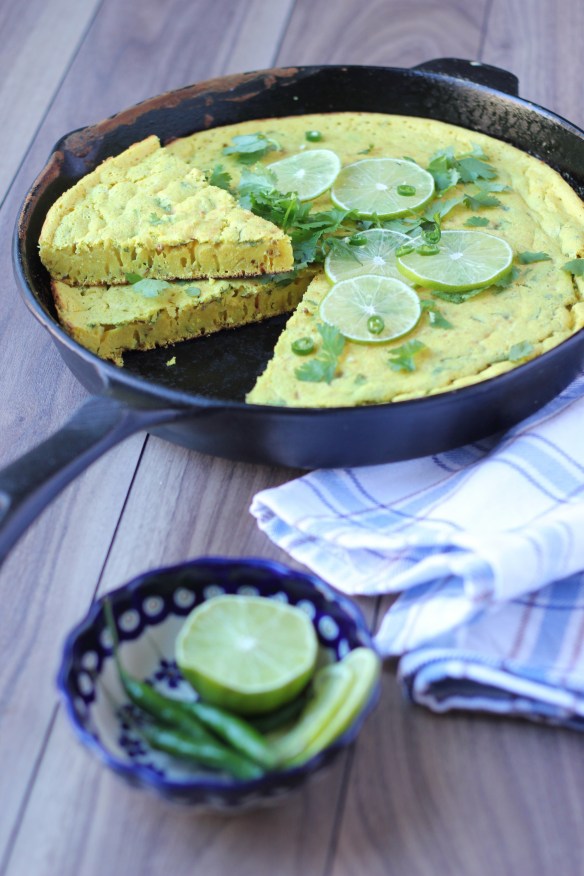
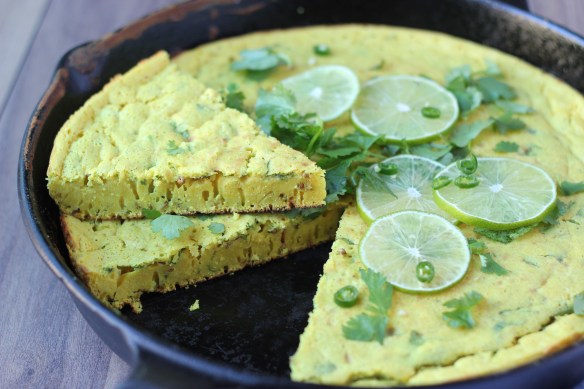
In this spiced chickpea skillet cake the spice comes from some wonderfully robust Indian inspired spices like cumin seeds and fresh ginger, as well as from green chilies which you can dial up or down based on your preferences. You can guess which direction I went! This skillet cake is modelled after an Indian dish called dhokla, if only in flavours and ingredients, not actual execution. Traditional dhokla requires a pressure cooker to make and yields a spongy, super light savoury cake. Like a cloud in your mouth! I rely on baking powder to help achieve a bit of this airiness, though my recipe creates something much more dense and filling. In any case, it’s taste is reminiscent of dhokla and that is all I can wish for. To make it a bit more traditional you could drizzle the finished skillet cake in black mustard seeds and chopped green chilies fried in oil. Alas, no mustard seeds in my cupboard and the stores were closed due to a holiday. I decided to go for it anyway!  
img_3706-2

I love using chickpea flour as it is super cheap (I buy it at a bulk store) and packed with fibre, protein and a host of micronutrients. One 1/2 cup serving of chickpea flour (also known as garbanzo flour or besan) provides you with 10 grams of protein and 5 grams of fibre, as well as about half of your daily folate and a quarter of your daily iron requirements. Please ask me where I get my protein from the next time you see me. It’s also naturally gluten-free (though if you have Celiac disease please buy it in sealed packages!)

Please excuse the seemingly long instructions but I get chatty. And also I needed to explain how I MacGyvered my skillet to have a snug lid to fit over top of it. Yup, using skills in the kitchen!
img_3720-4img_3738-3

Indian Spiced Chickpea Skillet Cake

Serves 4-6

Prep Time 15 minutes

Cook Time 10-13 minutes

Ingredients:

2 cups chickpea flour

1 Tablespoon baking powder

1/2  teaspoon ground turmeric

3/4 teaspoon sea salt

Freshly ground black pepper

2 cups water

2 Tablespoons fresh lime juice (from 1 small lime)

1/4 cup roughly chopped fresh cilantro, packed

1 Tablespoon neutral-tasting oil (avocado, canola, grapeseed, refined coconut)

1 Tablespoon cumin seeds

1 teaspoon coriander seeds (optional)

1 Tablespoon finely minced fresh ginger

1-2 chopped green chilies, leave seeds in

Garnish: chopped fresh cilantro, sliced green chilies, lime

Directions:

1. In a medium mixing bowl, whisk chickpea flour, baking powder, salt and pepper to combine. Add water and lime juice and whisk well, ensuring batter is smooth and lump free. Set aside.

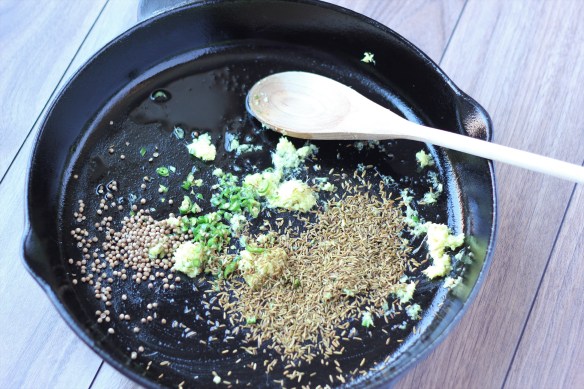
2. Choose an oven-proof, non-stick frying pan or well seasoned cast iron skillet, for which you have a tight fitting lid (I used a lid from a large stock pot and used a couple of pieces of tin foil to plug the gaps along the rim of the skillet). Heat oil over medium-high, then add cumin seeds, coriander seeds, ginger and chilies. Fry, stirring often, until fragrant and seeds begin to pop,  about 1-2 minutes.

3. Add fried spices, ginger and chilies to chickpea batter and whisk in. Don’t worry if you don’t get every seed and bit from skillet. Place skillet back on the stove and turn heat down to low. Carefully pour chickpea batter into the skillet and cover with the lid (no peeking – the key is to allow steam to build up and help in cooking the cake.) Cook over low heat for 6-8 minutes, until bubbles appear on surface and mixture starts to set (you will notice the top of the cake will start to dry out and become less jiggly.) Be careful not to burn the skillet cake! Low heat is key here. While cake is cooking on the stove top, set oven on to broil.

4. Once batter is mostly set, remove from heat, remove lid and place skillet on middle rack and broil for 2-3 minutes. Watch carefully to ensure skillet cake does not burn! This is not the time to walk away and start a new task. Carefully remove skillet from the oven (it’s hot!) and allow to cool. Once cool enough to handle, you can flip the  skillet cake out of the pan onto a serving plate, or serve straight  form the skillet. Top with desired garnishes. It tastes best when warm, so eat right away! Or store leftovers in the fridge and reheat before eating.
img_3763-2img_3760-2

And now for a PSA: Let me know if you make this recipe! Share with your friends! Like and comment below!

xo

Enjoy life and good food and sunshine,

ilona
Almond Butter Cup Smoothie Bowl + Magic Chocolate Sauce

img_3426

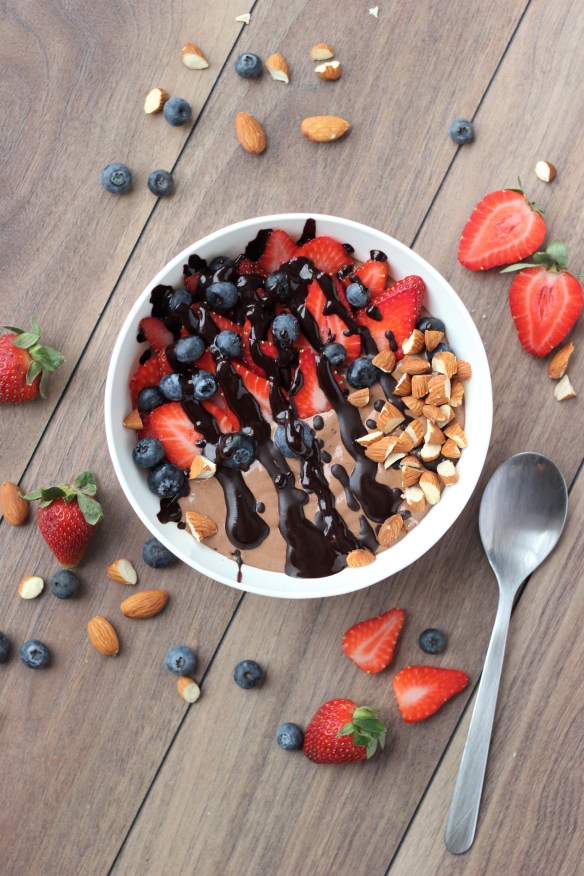
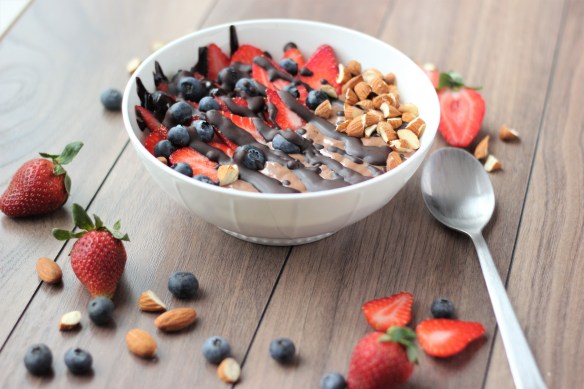
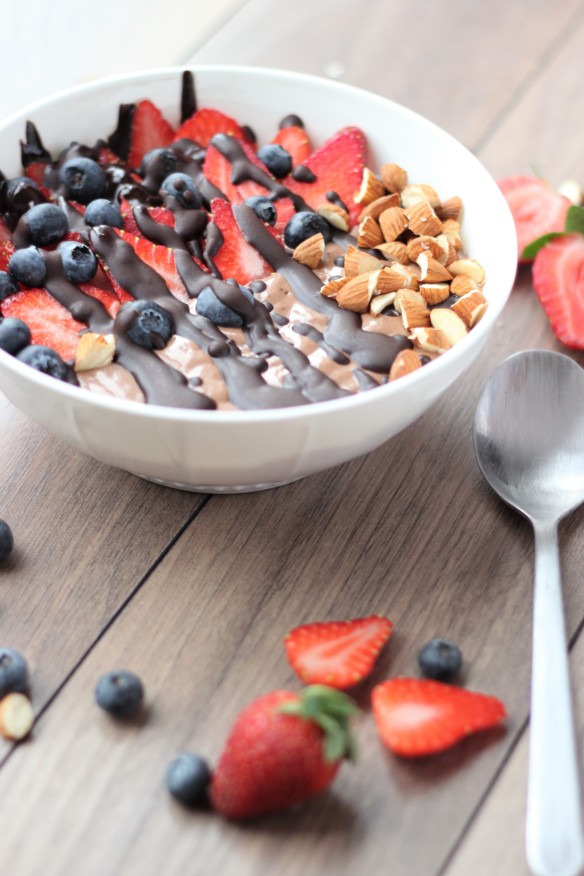
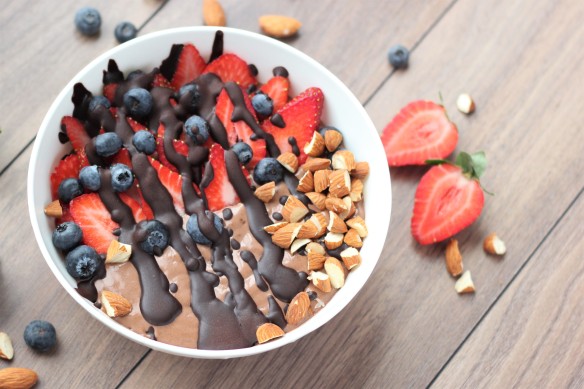
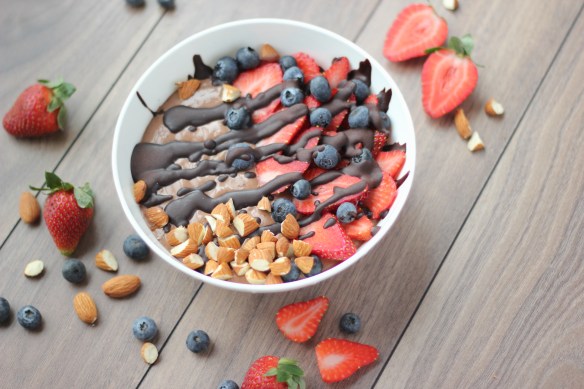
Permission to eat chocolate covered strawberries for breakfast granted! You’re welcome. Very, very welcome. Because in the depths of this Southern Ontario sun deprived deep freeze kind of a winter some joy is needed. And chocolate brings joy. Especially in the form of a chocolatey smoothie bowl made up of high vibe ingredients to delight the body and soul. Though I have to say, while chocolate does its magic, for anyone reading this who hails from some warm and sunshiney corner of the world – can I come live with you?? I think I make a decent roommate. I can guarantee good food, witty banter and a willingness to clean. Ok, so only one of those is true.

In the meantime, back to chocolate. For now. Until someone from California sends for me.

img_3451img_3456

So this smoothie bowl is the first smoothie bowl I have ever made. For real. I feel like I’m so late to the party that the party is almost over…they’ve started playing this. I know smoothie bowls have been around for forever but for some reason I’ve never been compelled to make one. Probably for a few  reasons: A) A smoothie bowls seem like breakfast food to me B) I’d much rather eat something savoury for breakfast and C) I pretty much always eat breakfast in my car on the way to work. Smoothie bowls are not conducive to these pursuits. But one day this past week I woke up with this exact smoothie bowl idea in my head. I imagine that’s what song writers or artists or novelists mean when they say that ideas come to them fully formed. Except in my case it’s always food. Sometimes a half-baked concept that collapses when put into action (ahem, shortbread cookies) and sometimes a successful recipe that strikes gold upon first try. This bowl was of the latter sort. A vision appeared in my head, I created it and then praise was heaped upon it by those who tasted the magnificent results. Or something like that.

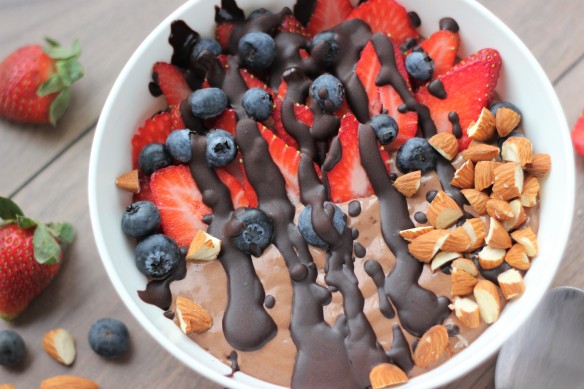
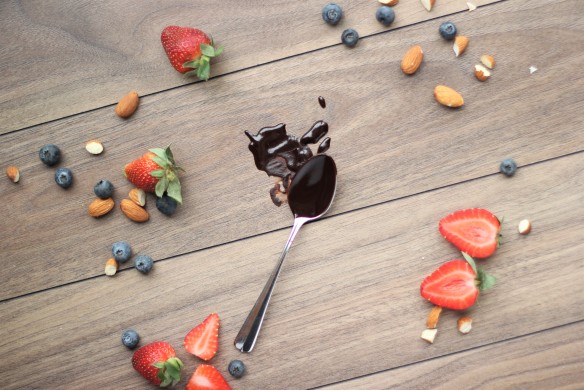
This recipe makes a pretty good sized smoothie bowl so it’s perfect for sharing. Though with about 24 grams of fibre (!!) and 13 grams of protein, it makes a mighty satisfying meal for one. There’s virtually no added sugar in this recipe, except for the maple syrup in the chocolate sauce, which you can skip. Though the chocolate sauce is my favourite thing about this bowl! It is super easy to make and it hardens when poured onto the icy smoothie and cold fruit, creating a shell of chocolate drizzle that breaks up into chocolate chunks as you crack it with your spoon (that’s the magic!) Umm are we talking decadent dessert or breakfast still? To be quite honest I don’t think anyone would complain if you finished off a meal with this and called it dessert. I certainly wouldn’t. Perhaps a Valentine’s Day treat?

The other ingredients are essentially fruits, seeds and nuts. These do a body good! And all the chocolate goodness comes from good quality organic cocoa powder as opposed to processed chocolate. I can live with that.

img_3447img_3489

Almond Butter Cup Smoothie Bowl With Magic Chocolate Sauce

Makes 1-2 Servings

Prep Time 10 minutes

Ingredients for the Smoothie Bowl:

2 frozen bananas, broken up into chunks

1-2 medjool dates

3/4 cup unsweetened almond milk (or other plant-based milk)

2 Tablespoons cocoa powder

1 1/2 Tablespoons chia seeds

1 1/2 Tablespoons smooth almond butter

 Ingredients for the Chocolate Sauce:

2 teaspoons virgin coconut oil, melted

2 teaspoons maple syrup

2 teaspoons cocoa powder

Toppings:  strawberries, blueberries, raspberries, sliced banana, chopped raw almonds; other fruit or nuts may be used, as desired

1. Blend all smoothie bowl ingredients in a blender until smooth. Depending on your blender, you may need to stop it a few times and use a spoon to move the ingredients around, or use more almond milk to get it to  a smooth consistency. If you have a Vitamix, use the tamper to move the ingredients around.

2. Use a fork to whisk all chocolate sauce ingredients until smooth.

3. Pour smoothie into a bowl, top with desired toppings and drizzle with the chocolate sauce. Enjoy!

img_3505

img_3514

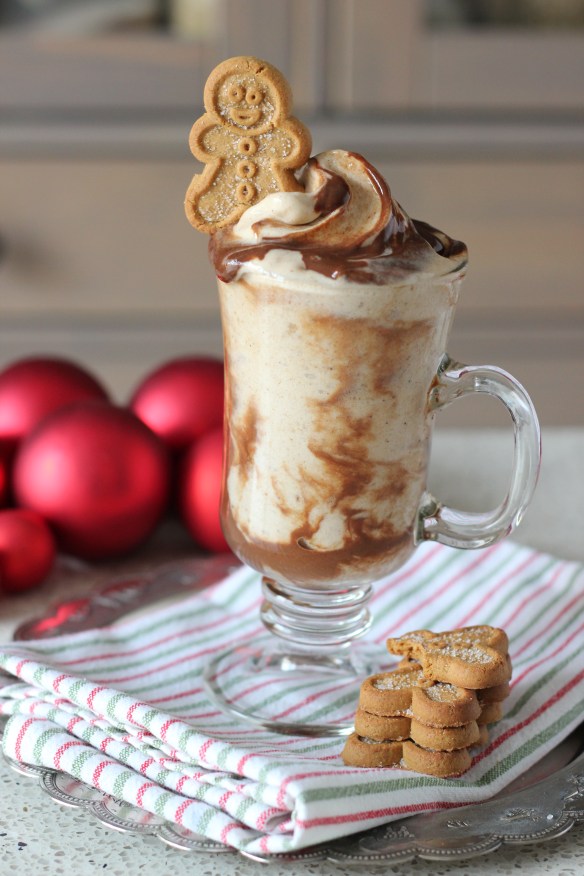
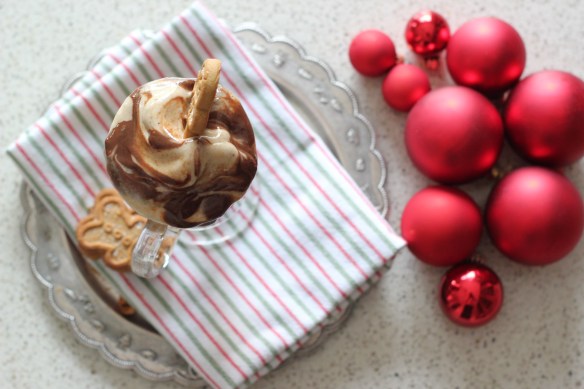
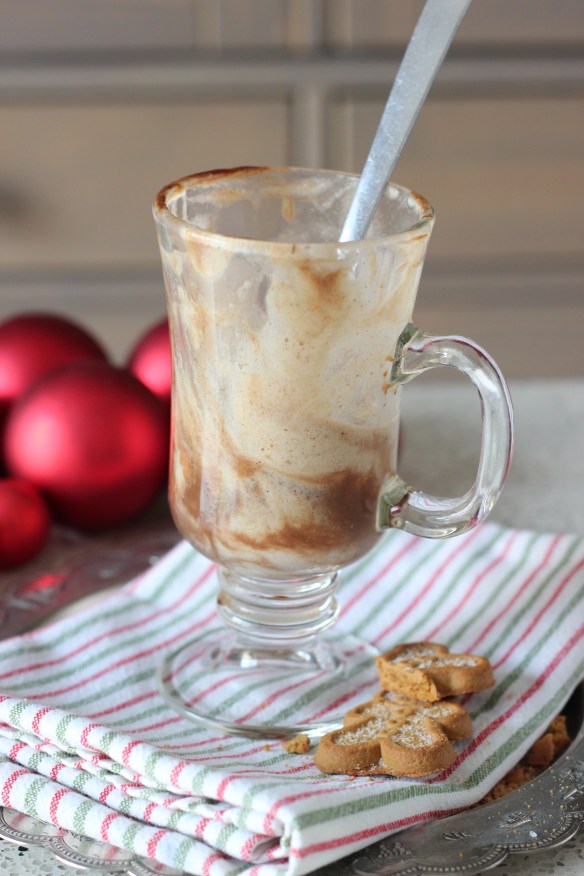
Eggnog Nicecream + Gingerbread Chocolate Sauce

img_2965

Some days I sit down to write a blog and know exactly what I want to say. Some days, like today, I have  no idea. My mind is blank. Or maybe not blank, but all the ideas I hold within are blunt and vague instead of sharp and focused. And so I am not writing with the fervour of wanting to spill words onto the page at break neck speed lest they disintegrate. This kind of a writer’s block scenario requires a bit more introspection. What do I really want to say? And so I settle on the truth.

Life has tossed a few obstacles on my path recently, both health and relationship wise. I have taken to yelling at the universe to stop being such an a**hole from time to time while trying to scramble over said obstacles  more or less intact. It is not a graceful process. There’s tears and pain and scars. But I am more than fortunate. I have an abundance of comforts and great friends and family to help me along the way. And I also have the opportunity to set aside time, energy and resources for self-care. I have been listening to my body and doing more yoga, going for hikes and listening to energizing and inspiring podcasts. I have been spending time with my nieces and nephews – talk about therapy! They bring me crazy amounts of joy and their giggles are pure magic. I am also just trying to give myself over to the process. Whether it be health or relationships or career, I have to trust that it WILL all work out. Perhaps not in the way I pictured or wished for. But in some way or another it will be okay. I imagine a crossroads up ahead where luck and hard work will intersect and I achieve what I am striving for. I just have to keep my eyes open and be willing to flex and bend and yield.

Now, I don’t have a witty or thoughtful segue to this recipe so…..gingerbread!!

img_2962

Gingerbread was the inspiration for this recipe. Gingerbread and eggnog. Essentially, I am in full on Christmas mode and wanting to devour the sights, sounds and flavours of the season at any chance possible. It started with making multiple batches of peppermint bark for gatherings in recent weeks, checking out the Milton Santa Claus Parade last weekend and  then going  to the Trans Siberian Orchestra with my family a few days ago. The Christmas spirit has been ignited. 

img_2907img_2958

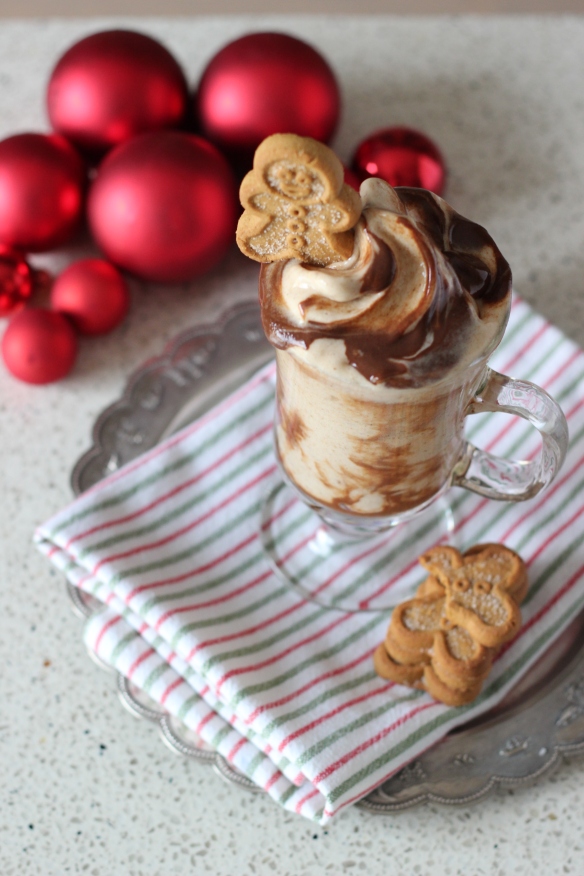
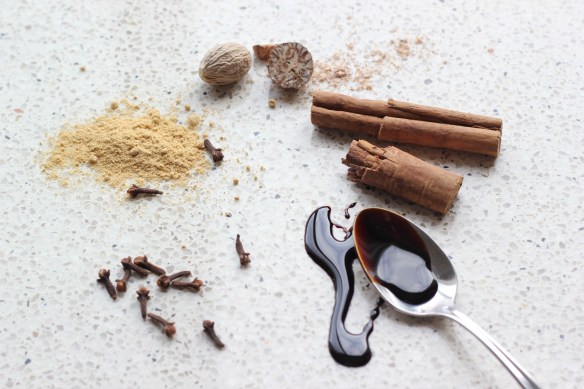
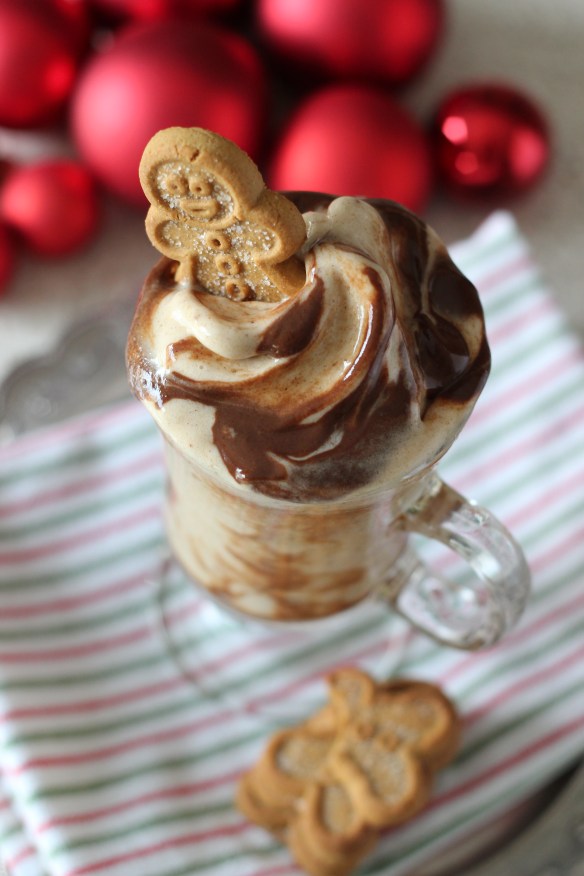
This is called nicecream because in using only plant-base ingredients it’s a kind way to consume  ice cream without using dairy milk. And it’s nice. Really really nice. And kind of magical, because who knew that frozen bananas can yield something smooth and creamy and cold and so akin to real ice cream that you might not miss the real thing. And it’s also super healthy, because it’s  just fruit! I paired the nicecream with eggnog flavours and topped it all with a gingerbread chocolate sauce, which is a gingerbread-spiced version of my original chocolate sauce. I haven’t posted the recipe for the original sauce on this blog yet but people went nuts about it when I shared it on Instagram and Facebook. I guess people care about a chocolate sauce that is free from refined sugar, made from wholesome ingredients and versatile (you can use it as a fruit dip, on top of oatmeal, as a base for hot chocolate etc.) And because it’s chocolate. This version is filled with gingerbready spices and molasses – I use the blackstrap variety because they are a good source of iron and calcium, unlike other types of molasses. So there you have it, chocolate, eggnog, gingerbread, nicecream, Christmas. Enjoy!

 img_2975img_2999


Eggnog Nicecream with Gingerbread Chocolate Sauce

vegan, gluten-free, soy-free, refined sugar-free 

Makes 2 servings of nicecream +  approximately 1 1/2 cups of chocolate sauce

Prep Time 10 minutes

Ingredients for nicecream:

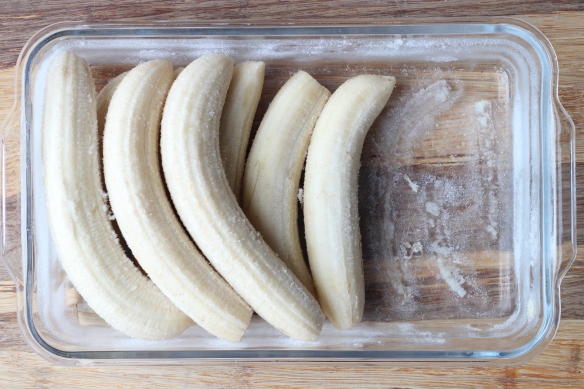
4 ripe bananas, frozen, roughly chopped

1 teaspoon pure vanilla extract

3/4 teaspoon ground cinnamon

1/2 teaspoon freshly grated nutmeg

small pinch of ground cloves

1 Tablespoon maple syrup optional)

Directions:

1.       Add bananas and vanilla into a food processor and process until a creamy, soft-serve ice cream consistency . This will take a few minutes, and at first will resemble a coarse, crumbly mixture. Keep processing and scraping down sides often until you get nicecream. Add spices and maple syrup (if using) and process for a few seconds until combined.

2.       Spoon into serving dishes, top with gingerbread chocolate sauce and enjoy right away.

Ingredients for the gingerbread chocolate sauce:

8 soft medjool dates, pitted

6 Tablespoons cocoa or cacao powder

1 Tablespoon virgin coconut oil

1/2 teaspoon pure vanilla extract

1 Tablespoon blackstrap molasses

1/2 teaspoon ground ginger

1/2 teaspoon ground cinnamon

1/4 teaspoon freshly grated nutmeg

1/8 teaspoon ground cloves

pinch of sea salt

1 cup warm water

Directions:

1.       Place all ingredients in a blender and blend until smooth.

2.       Store in an air tight jar in the fridge for up to one week. The coconut oil might solidify in the fridge, just heat in the microwave or by running sealed jar under hot running water to melt.

Notes:

I keep a stash of whole, frozen bananas in the freezer; they break up or chop easily even when frozen. You want them to be ripe, with black spots on the skin (but not mushy or brown inside) when you freeze them.

I used Mi-Del gluten-free Gingerbread Men for decoration. So adorable!

img_3012

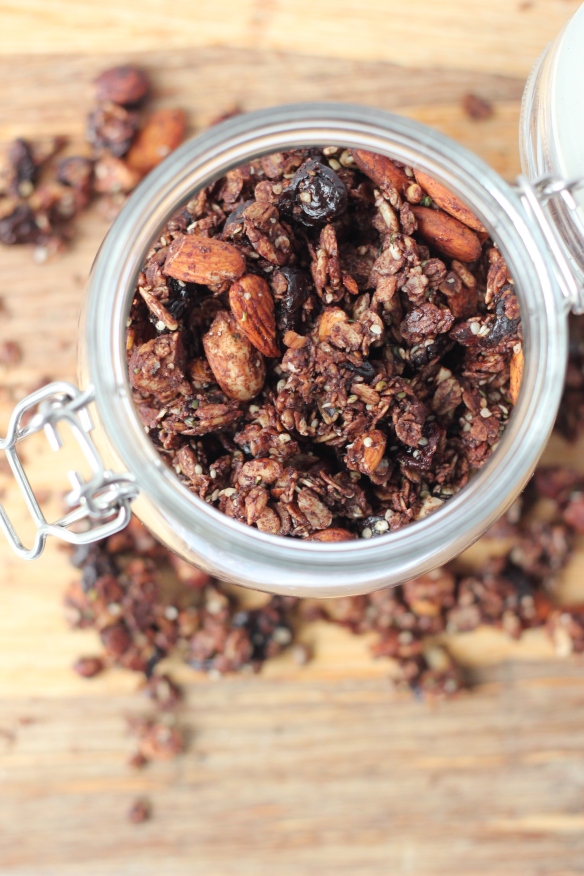
Dark Chocolate Cherry Granola

img_2486img_2569

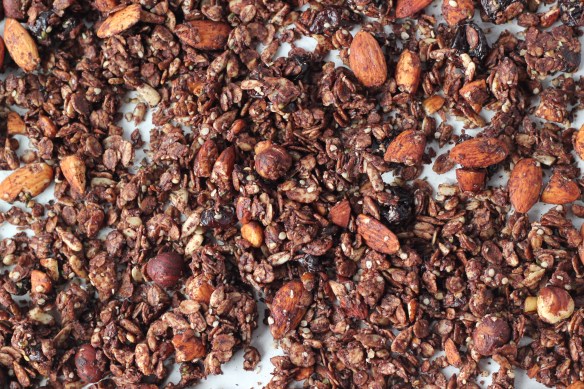
Awww man, y’all are gonna lose your shhhh for this one! Believe it or not, this is only one of the very few times I have made my own granola. I’ve had every intention in the past, just zero execution. Confession: that could be said about other aspects of my life too, I suppose. Procrastination is the name of my game and I am VERY good at it (let it not be said that I don’t have any skills!) If putting things off until the last minute and figuring out ways to avoid what I need to do by doing everything else instead was a sport, I’d be a world champion. That’s not to say I’m lazy – just good at deferring. And even in the kitchen, I cook all the time but creating workable, tasty recipes that make sense and can be replicated is another thing on its own – that requires planning, forethought, precision, and measuring spoons. All of which just slow me down in the kitchen. But the desire to share good food that is delicious and nourishing in equal measures finally succeeded – and so I have hunkered down, with note pad and pen in one hand and measuring cups in the other (or something like that) and started not just making food, but actually developing recipes. Who am I?? Also, it helps that my recent foray into this was received so generously by my family and friends, one just can’t help but be inspired to go on.

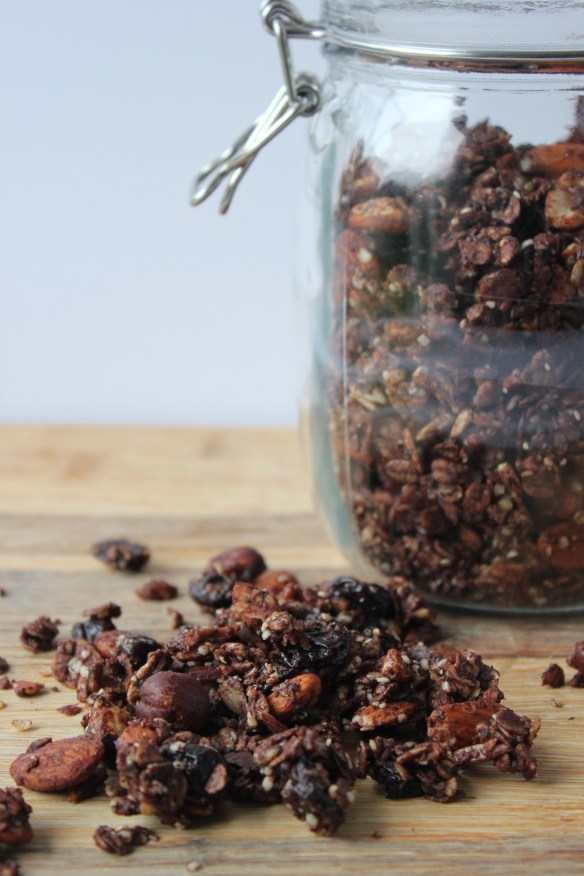
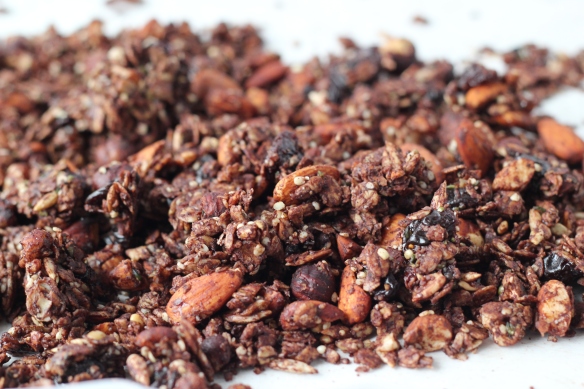
So let’s get on with this recipe. There are some food pairings that just seem to be made for each other: peanut butter and jam, coconut and pineapple, lime and tequila. And of course chocolate plus cherries, the darlings of this recipe. I mean, when have chocolate and cherries together ever been a bad idea? Never. Am I right? Thought it has to be said that the cherries also go beautifully with the hazelnuts in this recipe, and the almonds, and well the chocolate goes with just about anything (chocolate + hazelnuts, enough said.) So what we end up with is a jar full of goodness that just loves to intermingle, and each ingredient, while good on its own, elevates the others. A metaphor for a utopian society dare I say? If granola can inspire a visionary world view, well all the better in my opinion.

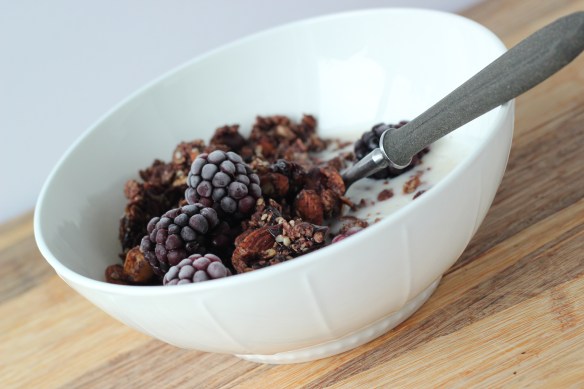
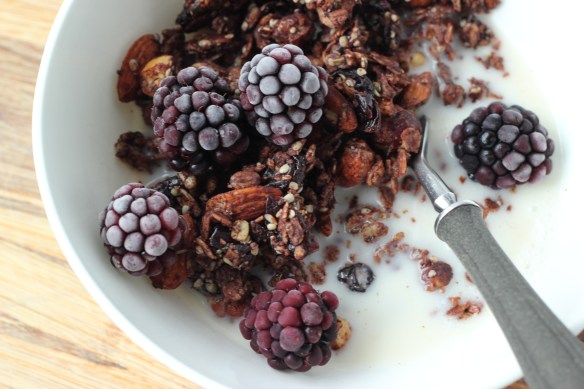
I had some family and friends try this granola out on its first outing and the reviews were fantastic. On top of yogurt, paired with almond milk for breakfast, or straight up out of the jar by the fistful, everyone fell in love. The recipe is pretty simple too: you mix the dry ingredients together, and essentially make a raw chocolate to coat everything in. Mmm, a chocolate bath. I know that dried cherries can be quite pricy but a little goes a long way. In any case, feel free to substitute dried cranberries instead if that’s all you have on hand. That goes also for the nuts and seeds, change those up if you want but keep the amounts the same. It’s a pretty flexible recipe – and far better than most of the granola you can buy, both in taste and nutrition. Nourishing dried fruit, seeds, nuts and oats with antioxidant rich cocoa powder and a touch of maple syrup. That’s it.

img_2574


img_2450

Finally I have to say I chuckled a bit when naming this recipe. I though, once people read chocolate and cherries I will have them sold! They won’t even notice the word granola in there. Muahaha, got you!

Oh! One  more thing, as I was eating this bowl of granola I was rewarded with a delicious, rich chocolatey almond milk. Never a bad thing.

img_2570


Dark Chocolate Cherry Granola

vegan, soy-free, gluten-free option

Makes about 6 cups

Prep time 10 minutes 

Cook time 30-35 minutes

 Ingredients

1 1/2 cup large flake rolled oats, gluten-free if needed

1 cup raw almonds, roughly chopped

1/2 cup raw hazelnuts, roughly chopped

1/2 cup raw sunflower seeds

1/4 cup hemp hearts

1/2 cup dried cherries, roughly chopped

scant 1/4 teaspoon salt

1/3 cup coconut oil

1/3 cup maple syrup

1/4 cup cocoa powder

1 teaspoon vanilla

Directions

  1. Preheat oven to 300˚F (150˚C) and line a large rimmed baking sheet with parchment paper, set aside.
  2. In a large bowl, combine oats, almonds, hazelnuts, sunflower seeds, hemp hearts and dried cherries and salt. Stir well.
  3. In a small saucepan over medium-low heat, melt coconut oil, remove from heat and whisk in maple syrup, cocoa powder and vanilla.
  4. Pour the chocolate mixture over the dry mixture and stir well until everything is well-coated.
  5. Tip the granola mixture onto the prepared baking sheet and spread out into an even layer. Press down on the mixture with a spatula or wooden spoon so that it sticks together.
  6. Bake for 15 minutes. Remove from oven and stir, again spreading it our into an even layer and pressing it down. Bake for another 15-20 minutes. Let the granola cool completely on the baking sheet, it will harden as it cools. Break the granola up into clusters and transfer into an airtight container (I use glass jars).

Tips

You can chop the nuts by pulsing in a food processor.

Substitute equal amounts of other nuts, seeds, dried fruit as you wish.

img_2577